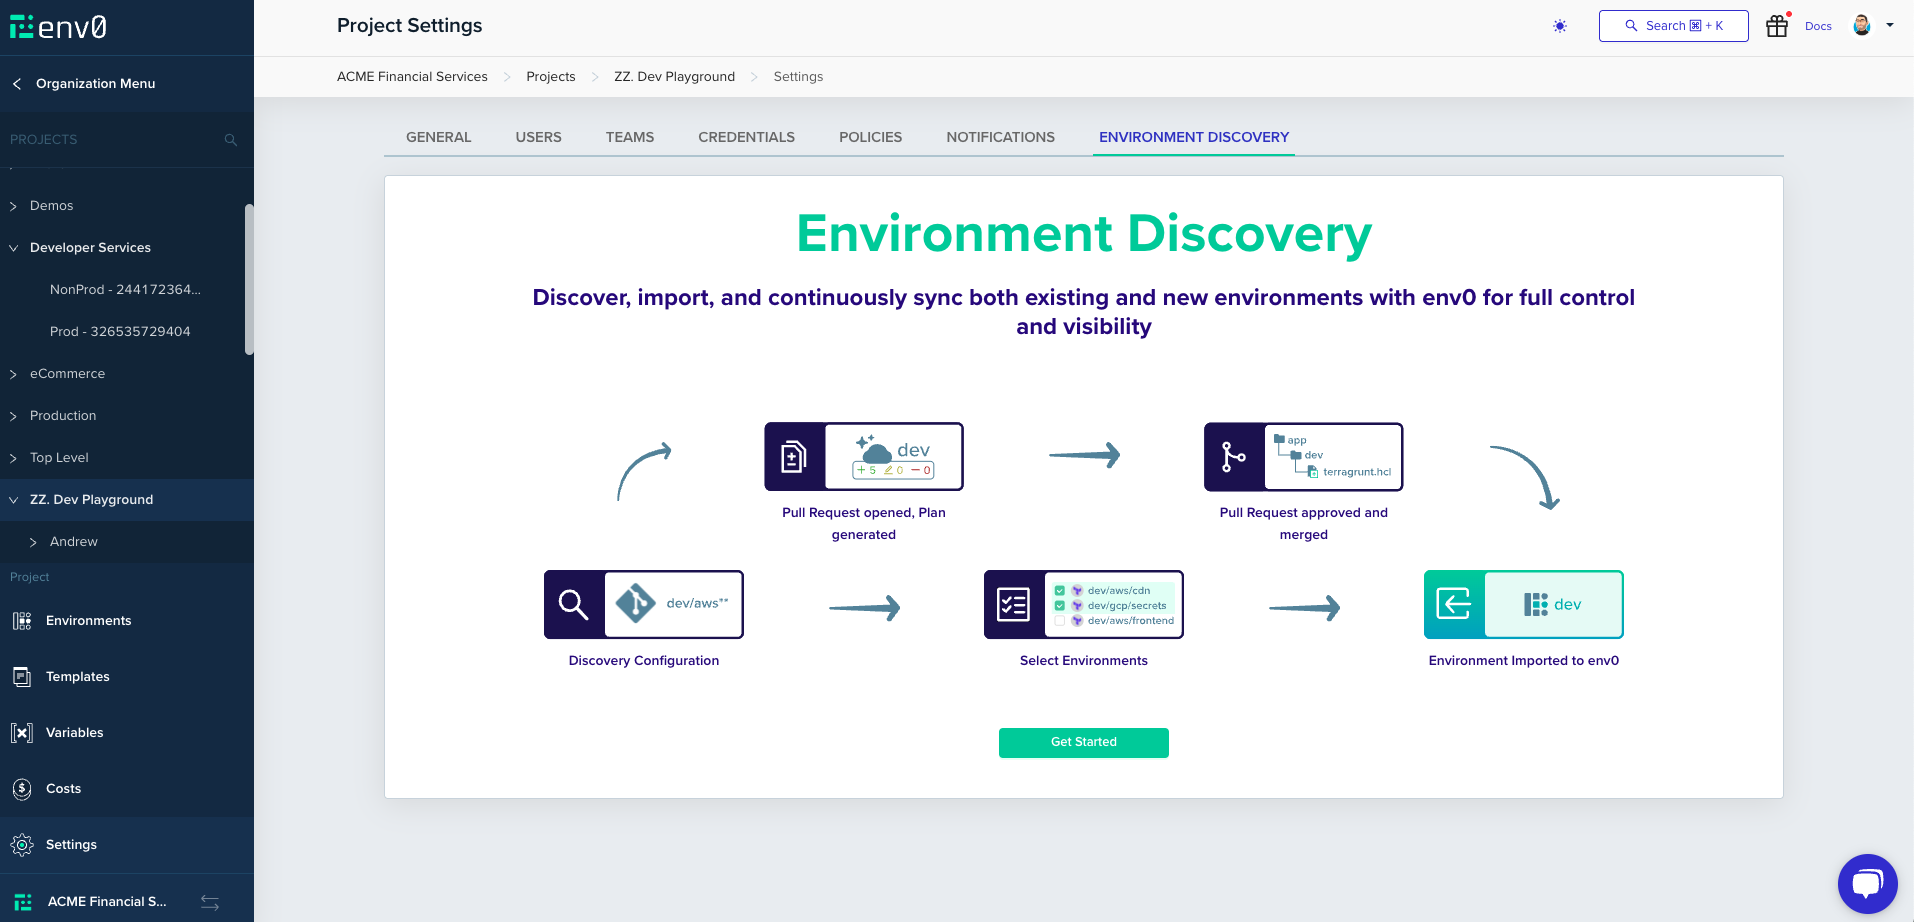
Get started
In this example, we will create aTerragrunt configuration based on Terragrunt Infrastructure Example repository.
First things first, you will need to create a one time configuration of your discovery settings. This is a per Project configuration.
Under Project Settings select Environment Discovery tab. To continue, click Get Started.
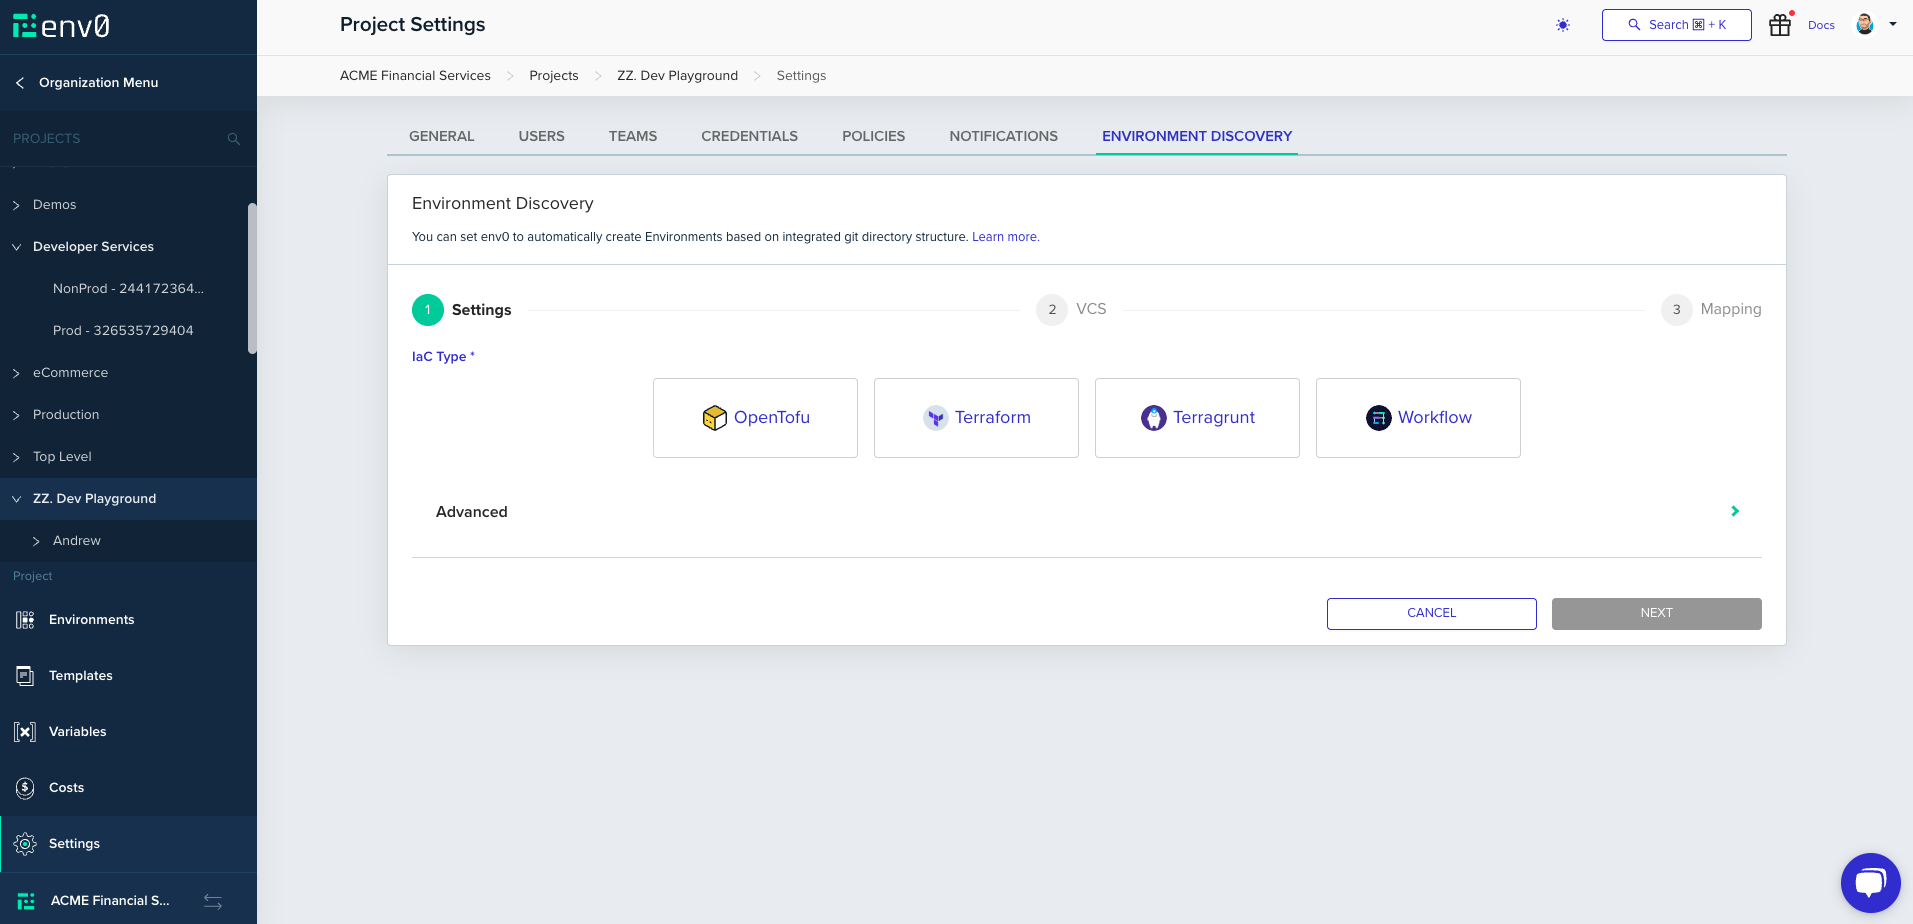
Choose The Infrastructure
As with setting up a Template, choose the type of infrastructure you are using, then clickNext.
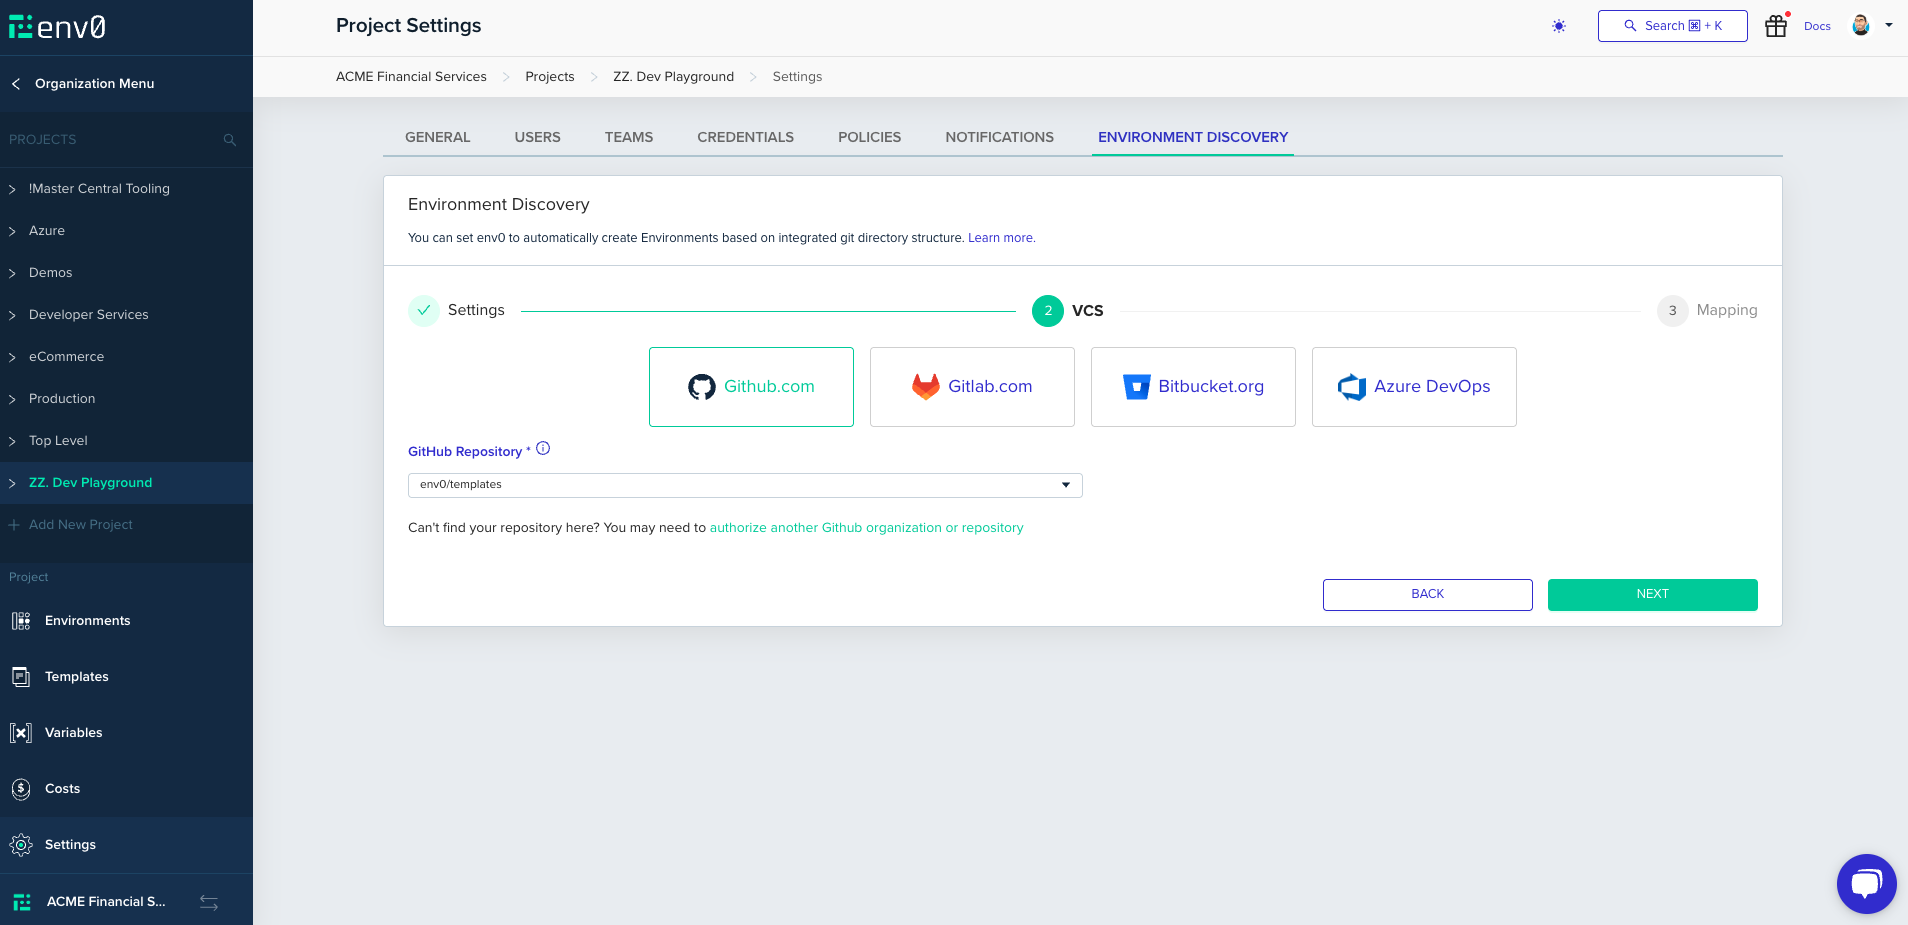
Configure Your Repository
Next, choose the desired Git provider, and configure the repository you would like to discover from and clickNext
Configure the Environment Mapping
The final step is crucial as it defines the structure of your project. In this section, you will specify the layout of your project, including which Environments will be created, how they will be named, and where they will be located within env zero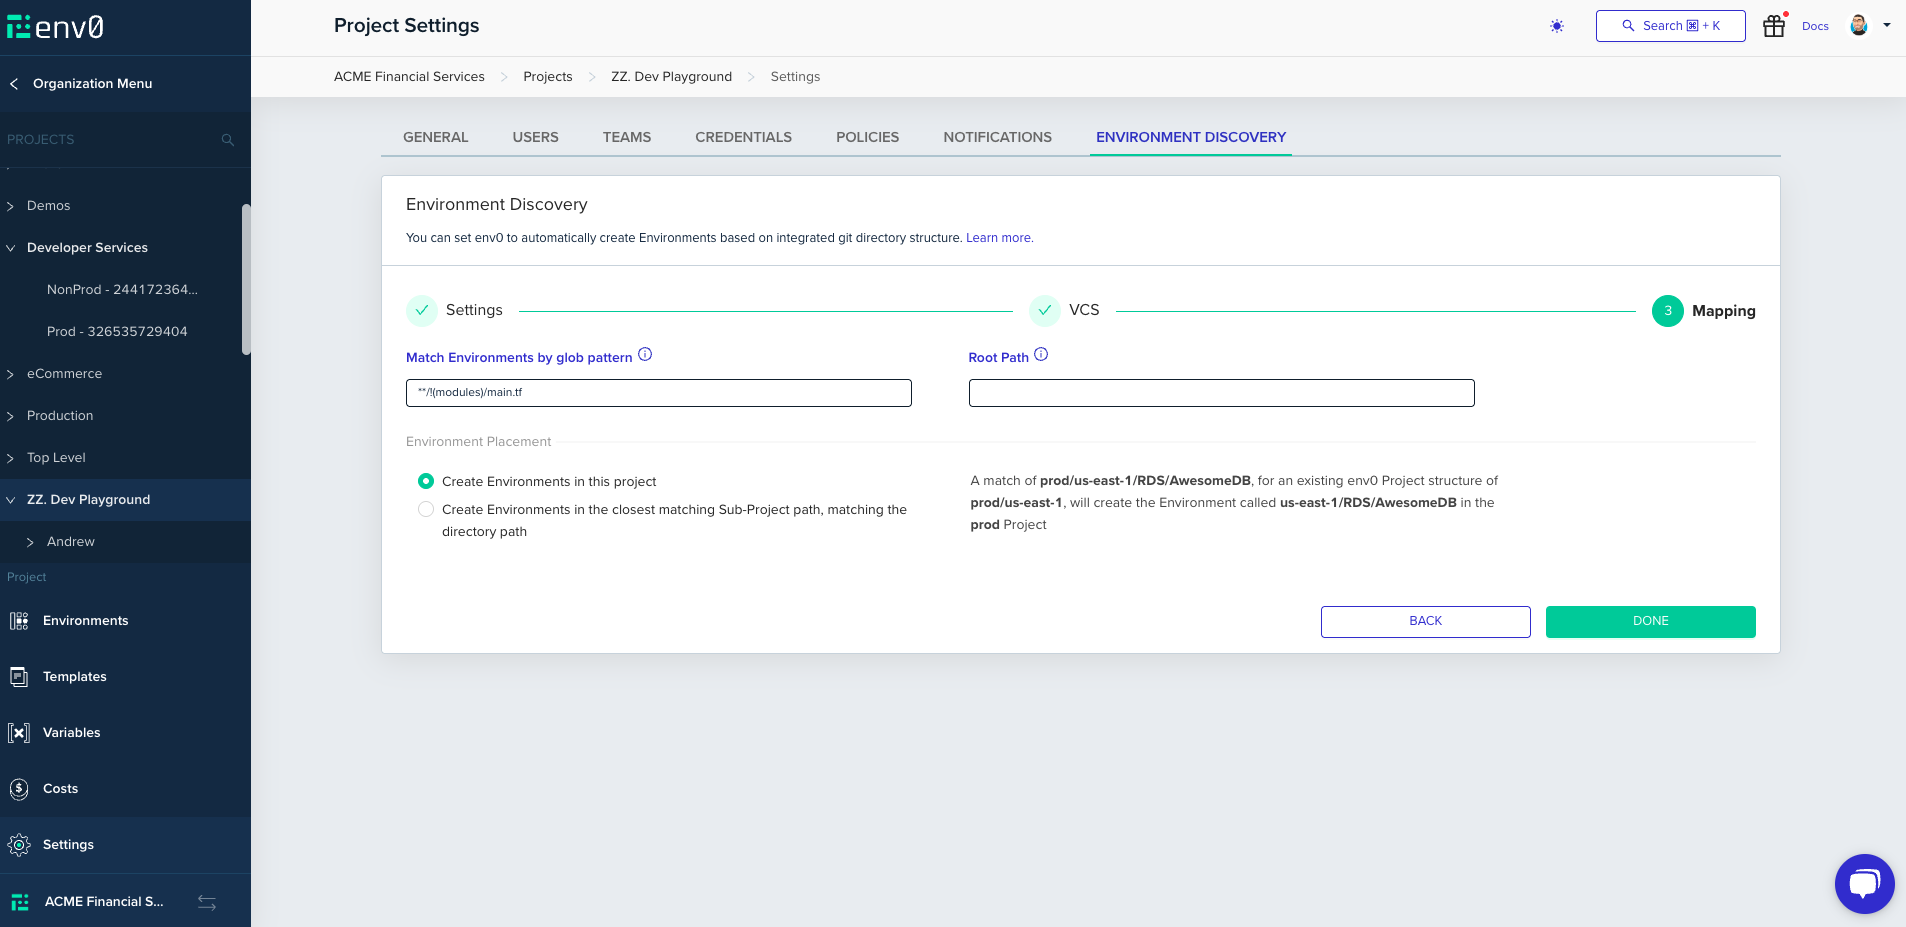
Match Environments Glob
You will need to define your project structure using a multi-glob pattern. Any match to this pattern will trigger the creation and planning of an environment in env zero. In this example, we aim to create an env zero Environment for anyterragrunt.hcl file that is not located under the _envcommon folder

Glob patternGlob patterns specify sets of filenames with wildcard characters. For example,
In this case, we will create new env zero Environments only if the new
Note that for extglob, when using OR/AND statements, make sure to wrap each option with parentheses, for example:
\*.tf or prod/\*\*For example, you can configure pattern like src/prod/**/*.tfIn this case, we will create new env zero Environments only if the new
main.tf is located under src/prod/...We also support extglob patterns with that you can write pattern which ignores files or use a list of folders.Note that for extglob, when using OR/AND statements, make sure to wrap each option with parentheses, for example:
!(prod/us-east-1/\*\*)+(dev/us-east-1/**|dev/us-west-2/main.tf)
This means we will listen to any change indev/us-east-1anddev/us-west-2/main.tf, and ignore changes underprod/us-east-1. (Recommend including exclusions first.)+(Terraform/!(prod)**|Terragrunt/dev/**)
Listen for any changes inTerraformorTerragrunt/devbut ignore any changes inTerraform/prod
Root Path
The root path configuration defines the starting point from which env zero will generate environments. For instance, if the glob pattern is set tosrc/prod/storage/*_/_.tf, and the discovered file is src/prod/storage/environment0/main.tf, with the root path configured as src/prod, env zero will exclude the root path from the full path of the discovered main.tf file. Therefore, it will be treated as storage/environment0/main.tf when determining where to place the environment.
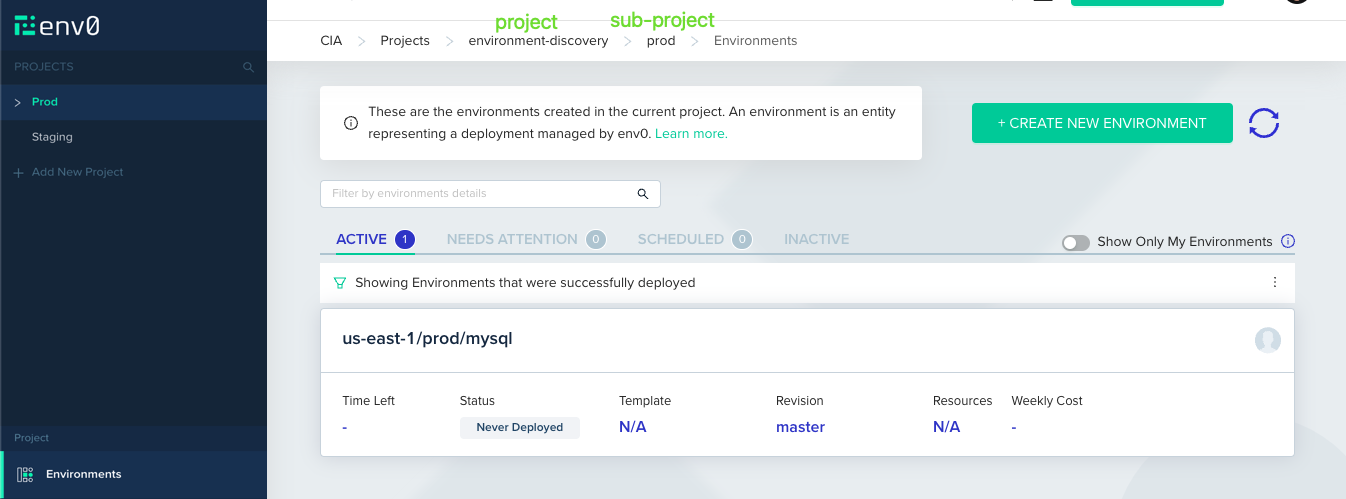
Environment Placement
This section will let you choose the Environment placement strategy within your project.
prod/us-east-1/prod/mysql will create an Environment called us-east-1/prod/mysql
Create Environments in the closest matching Sub-Project path, matching the directory path - Will consider the closest Sub-Project to match the path, for example a PR to change prod/us-east-1/prod/mysql will create an Environment called us-east-1/prod/mysql on prod Sub-Project
Click Done and you should be greeted with the success screen if all went well. The discovery process will be started automatically but automatic Pull Request creation should be enabled in the settings section.
Enabling Automatic Pull Request Creation
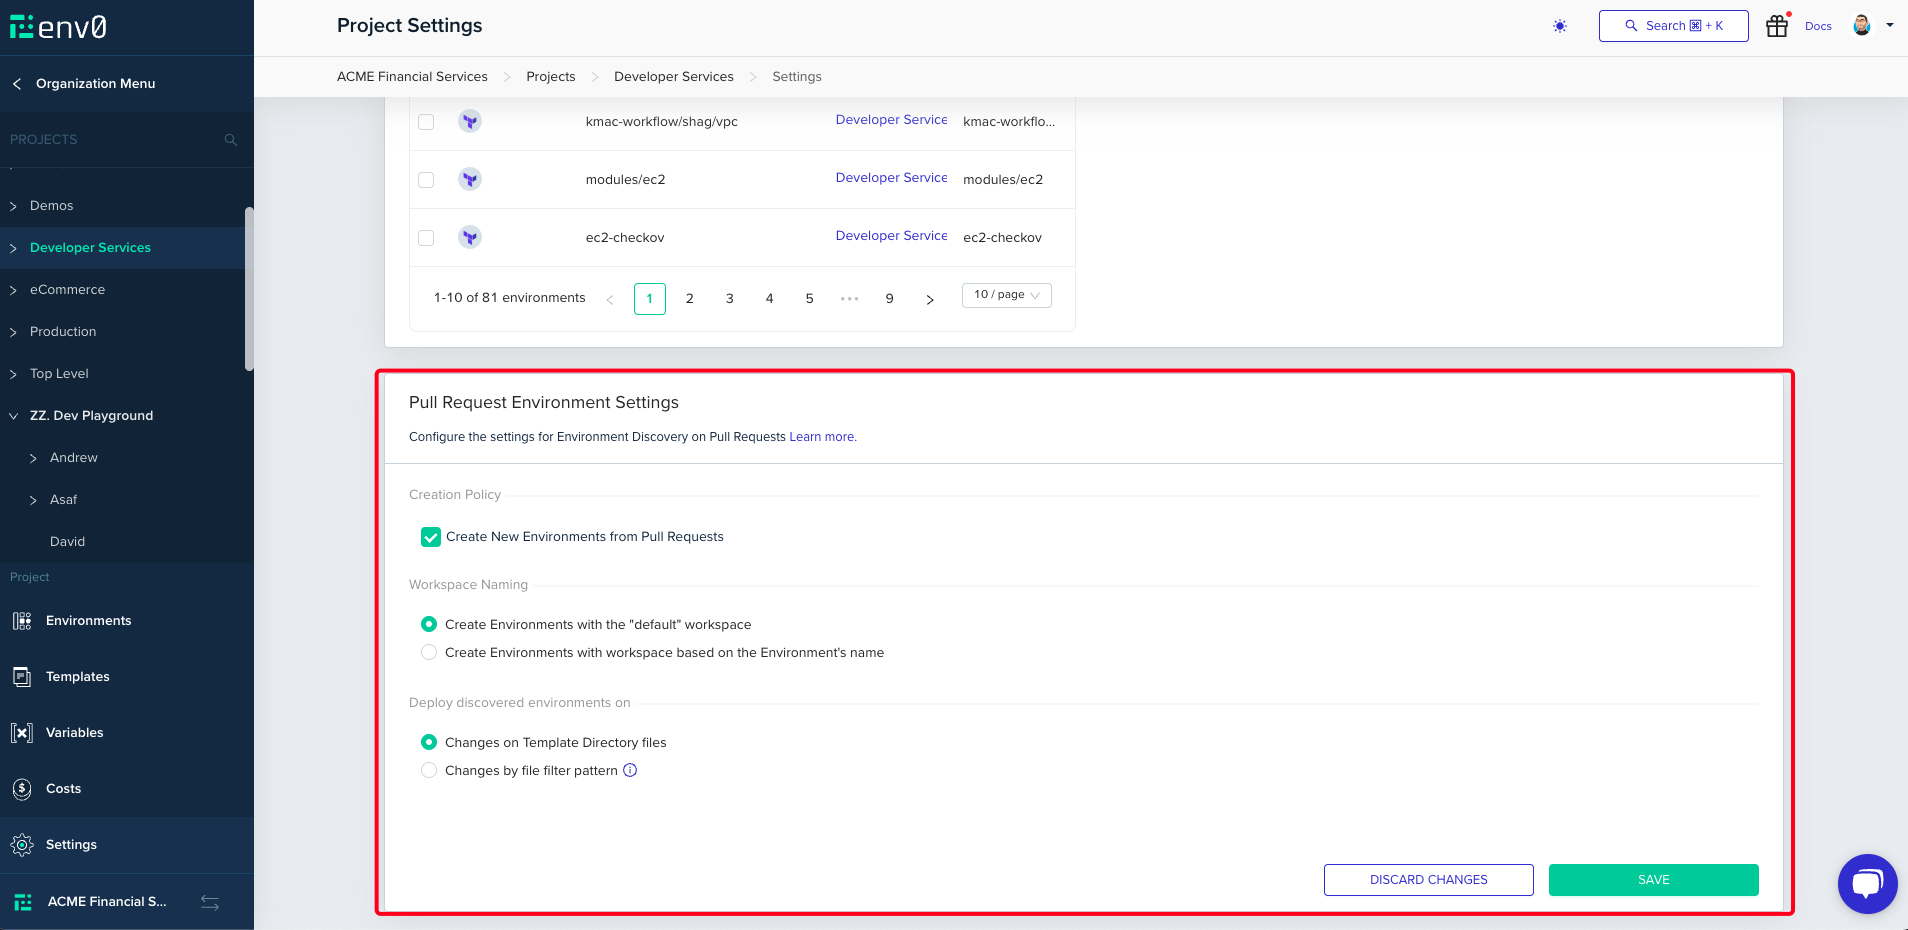
Workspace Naming
Here we can choose to either usedefault as the workspace names or derive it from the Environment’s name
Deploy Discovered Environments on
In the next section, you’ll be able to set the Continuous Deployment and PR Plan settings which your Environments will be created with.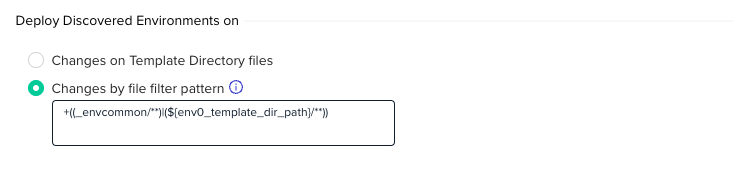
Using Environment Discovery
After configured, using environment discovery is easy as opening and merging a pull request.- Create a branch with desired changes and open a PR.
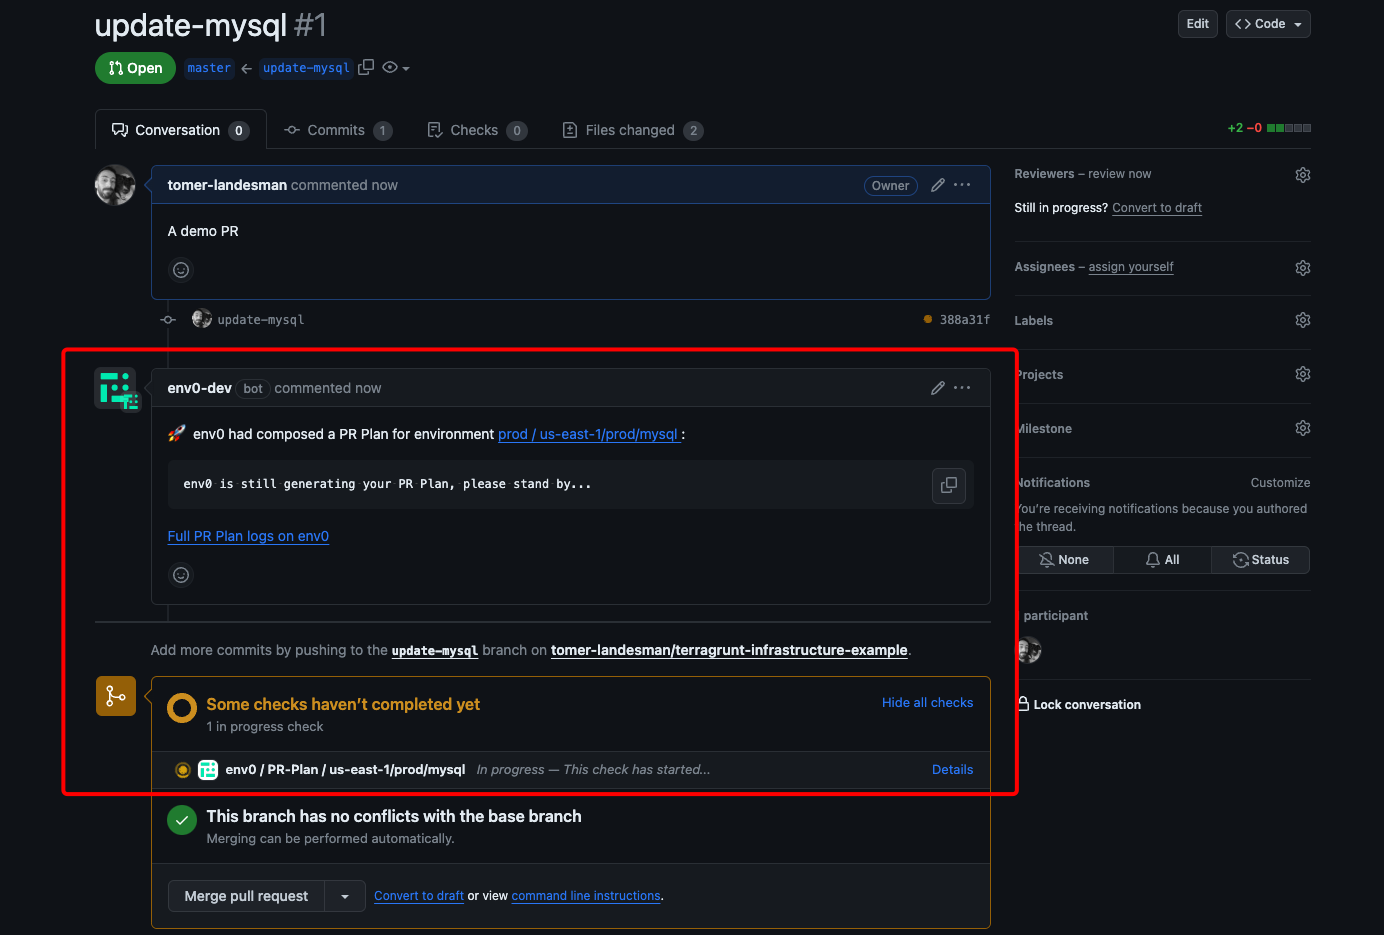
- Navigate to the relevant Project or Sub-Project in env zero or click the env zero bot comment (Remember: multiple environments can be created via a single PR)
- In the
Deploymentstab, you’ll be able to see the initial PR Plan env zero ran on your code.
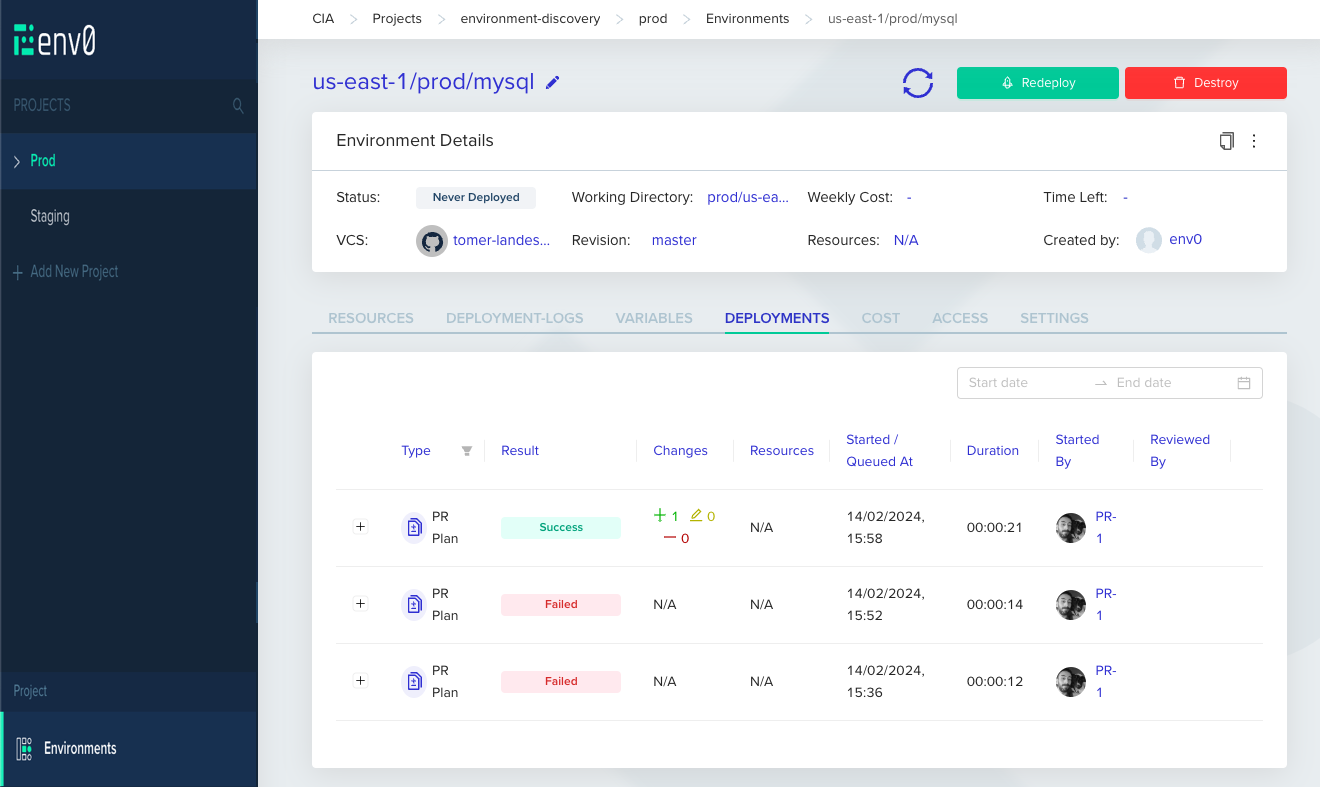
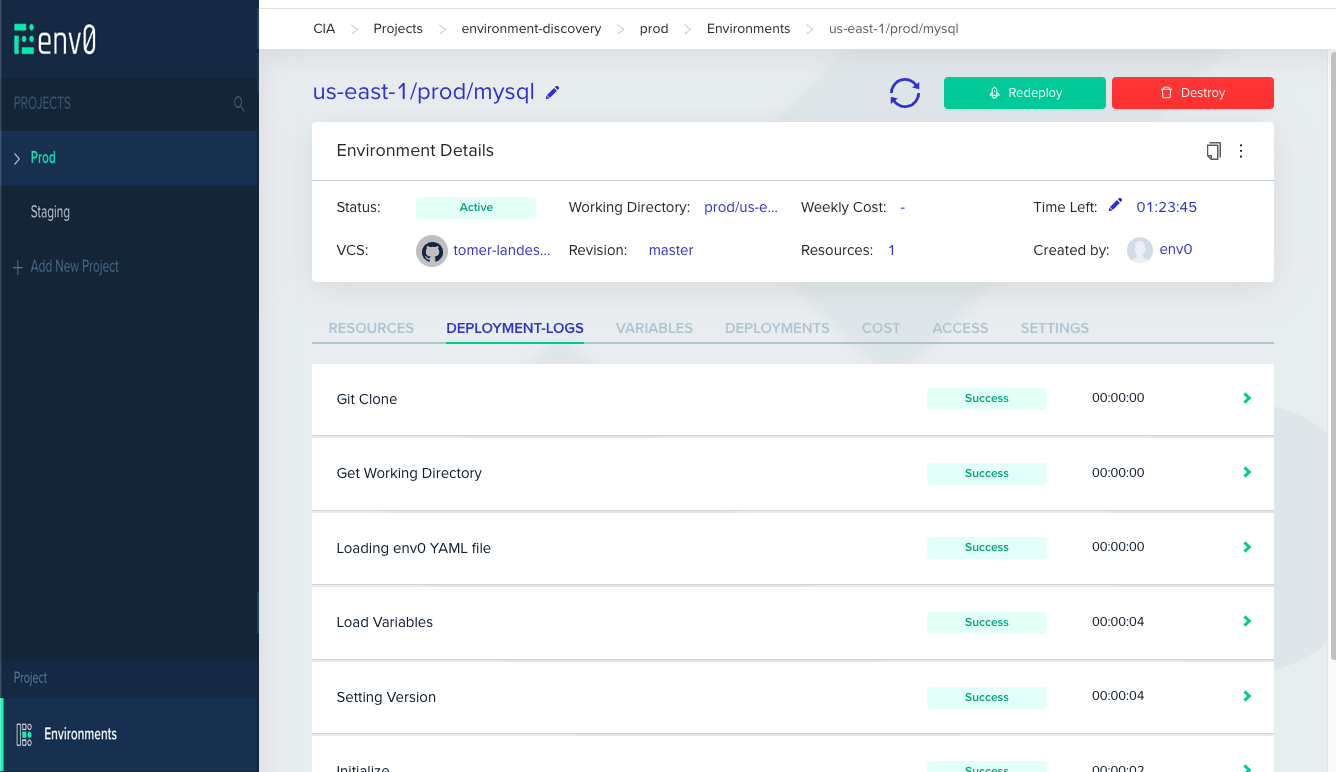
- After the plan has been reviewed and merged, env zero will trigger a deployment for that Environment.
Next steps
- Discovery by File - Use env0-discovery.yml to define environments from a marker file.
- Import External Environments into env zero - Migrate existing environments into env zero in bulk.
- Running Plan on Pull Requests - Review infrastructure changes automatically on every pull request.